

Mail This Article


Giving your home a fresh coat of paint is one of the most effective ways to revitalise its interiors. However, the actual process of repainting is often seen as a major headache. Homeowners frequently complain about paint splattering onto expensive furniture, ruinous stains on flooring, and an all-around messy aftermath. With a little foresight and structured preparation, you can keep your belongings safe and achieve a professional, pristine finish.
Clear the space and protect the floors
Before any paint tin is opened, the absolute first step is to clear the room. Move as many items and furniture pieces out of the workspace as possible. For larger furniture that cannot be relocated, push them to the centre of the room and cover them securely with plastic sheeting. Next, line the entire floor with thick canvas drop cloths or heavy-duty paper to catch any inevitable paint drips. It is also wise to keep a large trash bin in the room from the very beginning to dispose of waste materials immediately, preventing them from spreading dust and debris.
Wall preparation is everything
The secret to a flawless paint job lies in the prep work. Start by thoroughly washing the walls to remove accumulated dust, grease, and grime. If there are any stubborn stains or old, flaking paint, use a scraper to clear them away. Do not skip the crucial step of filling in old nail holes and dents. Leaving these unattended will ruin the final look of your walls. A joint compound mixed with sand, or a specialized wall filler, works wonders for patching up these imperfections before you begin painting.

Fix structural issues and plan your palette
Before applying the paint, conduct a detailed inspection of your walls for any structural defects such as cracks, water leaks, or dampness. These issues must be repaired first. Cracks should be filled and sealed using cement or plaster of Paris to prevent them from reappearing. Additionally, make sure you choose your paint colours based on a pre-planned interior design master plan. This ensures that the final shades beautifully complement your furniture, lighting, and overall decor style.
Master the technique and sequence
When it comes to the actual painting, using roller extension poles is highly recommended for ceilings and the upper sections of walls to make the job easier and more efficient. Always follow the golden sequence of painting: start with the ceiling, then move to the walls, trim, cabinets, and finally, the doors. Painting from top to bottom ensures that any accidental drips are painted over as you work your way down. Once you start painting a section of a wall, complete the entire section before taking a break to prevent visible overlap marks.
Hire the right experts and use quality tools
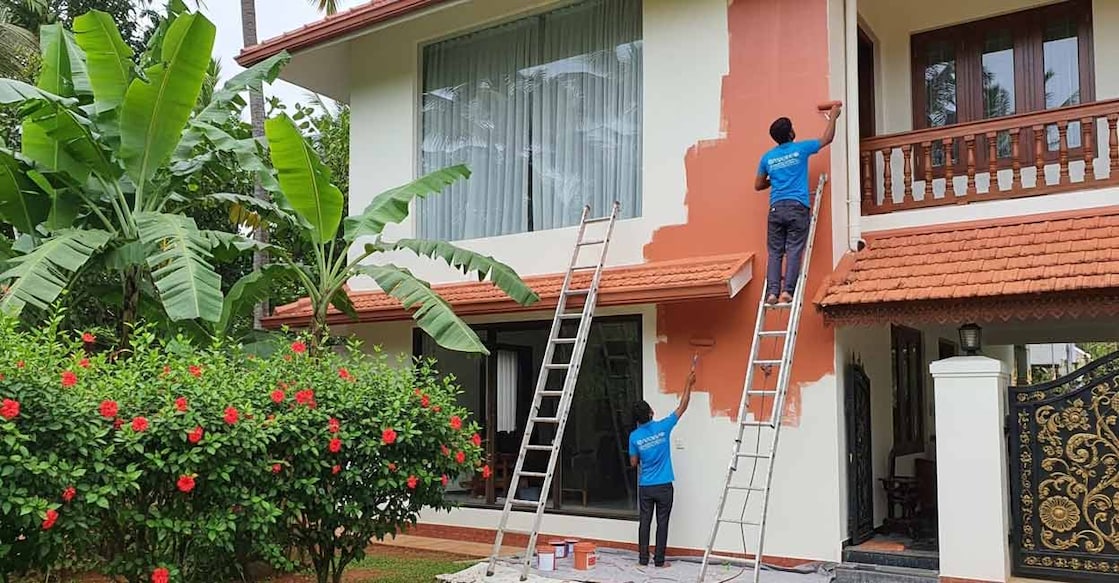
To get the best return on your investment, hire skilled and experienced professional painters. If you are contracting the project out, make sure the agreement explicitly includes the application of two coats of primer to ensure rich colour payoff and durability. Additionally, insist on high-quality brushes and rollers to avoid leaving ugly brush marks on the walls. For those tackling exterior walls, ditch the traditional coir brushes. Instead, rent a high-pressure washer to deeply clean and prep the exterior surface, guaranteeing a much cleaner and longer-lasting paint bond.
 Add as a preferred source on Google